Here is my spring project! This is a Flow through type of worm bin which should make harvesting the worm castings a lot easier for me. Here are some pictures of the bin, and a few steps along the way in case you would like to type and make one like your own. You can easily modify to any size your needs might have.
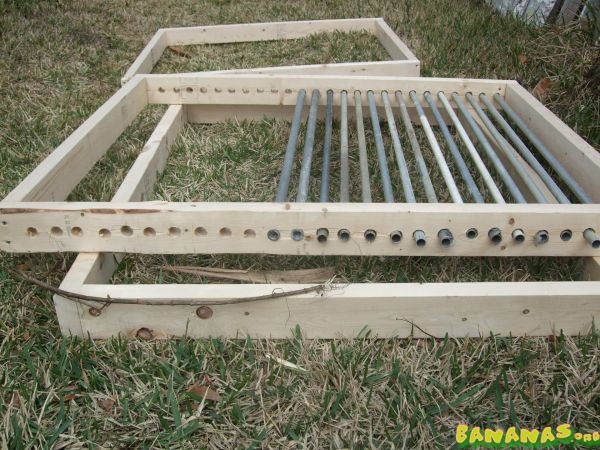
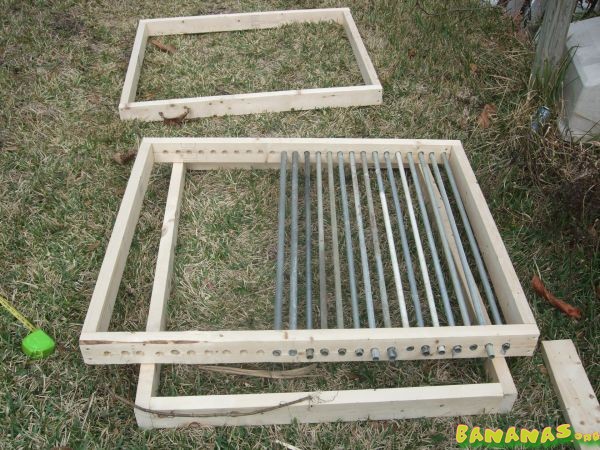
1st we build 3 frames out of 2 x 4, how ever one of the frames (middle one) will have to have a 1/2 in hole drilled ever 1 3/4 in so that you can slide cut pieces of EMT pipe to make a grate to stop everything from falling out.
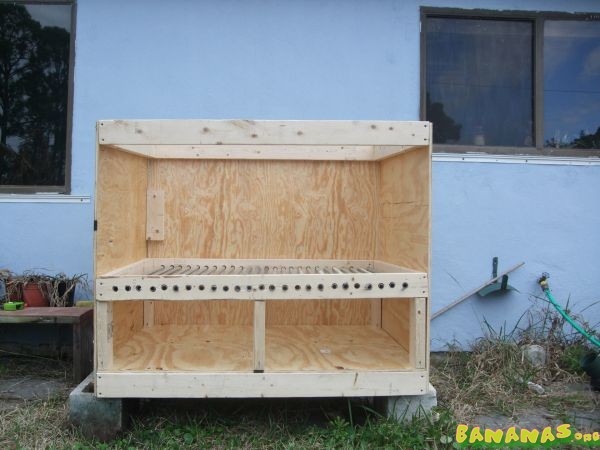
Now we starting putting up our wood panels, and you can now see how the frame with all the pipes in it becomes out middle piece.

Now I have put in the top most frame so that all the side panel's can be held in place and starting adding a LOT more screws to hold it together.
Keep in mind I put on the front last because the front panel will be cut to make an door the will swing open on the bottom half. This is where all the castings will fall out and ill be able to scoop them out when they are all done. Just screen them and go.
Here we are with the front panel on and door hinged. Now you can also see how the front panel is the only thing holding all the EMT pipe into place now.

Inside view now that all the extra 2 x 4 has been installed.

Now to help the wood last a little bit longer I suggest painting the entire bin inside out out. Any color will do, I just happen to have some old white paint that I found laying around the house.

Bottom view, I left this bottom chamber 10" high so that I could fit a shovel directly into it.

And Here we are trying to fill it up. I like to start all my bins with LOTS of shredded paper and cardboard for the worms to make a nice home out of.

Now from the bottom you can see I have made a flat layer with card board boxes cut and laid out flat. This will hold up the current waste, food, worms ect till its nice and black. The cardboard will eventually start to break down and tear allowing castings to start falling through.

Happy Gardening!